Introduction
Thank you for choosing the HL100 Light Hotspot Miner by Smart Harvest! We’ve crafted this guide to ensure your setup experience is not only smooth but also efficient. Let’s get started
Step 1: Gather All Essentials
Included in your HL100 box, you’ll find:
- The main device: HL100 Light Hotspot Miner
- Power Adapter
- 3 dBi Antenna
- Power Cable
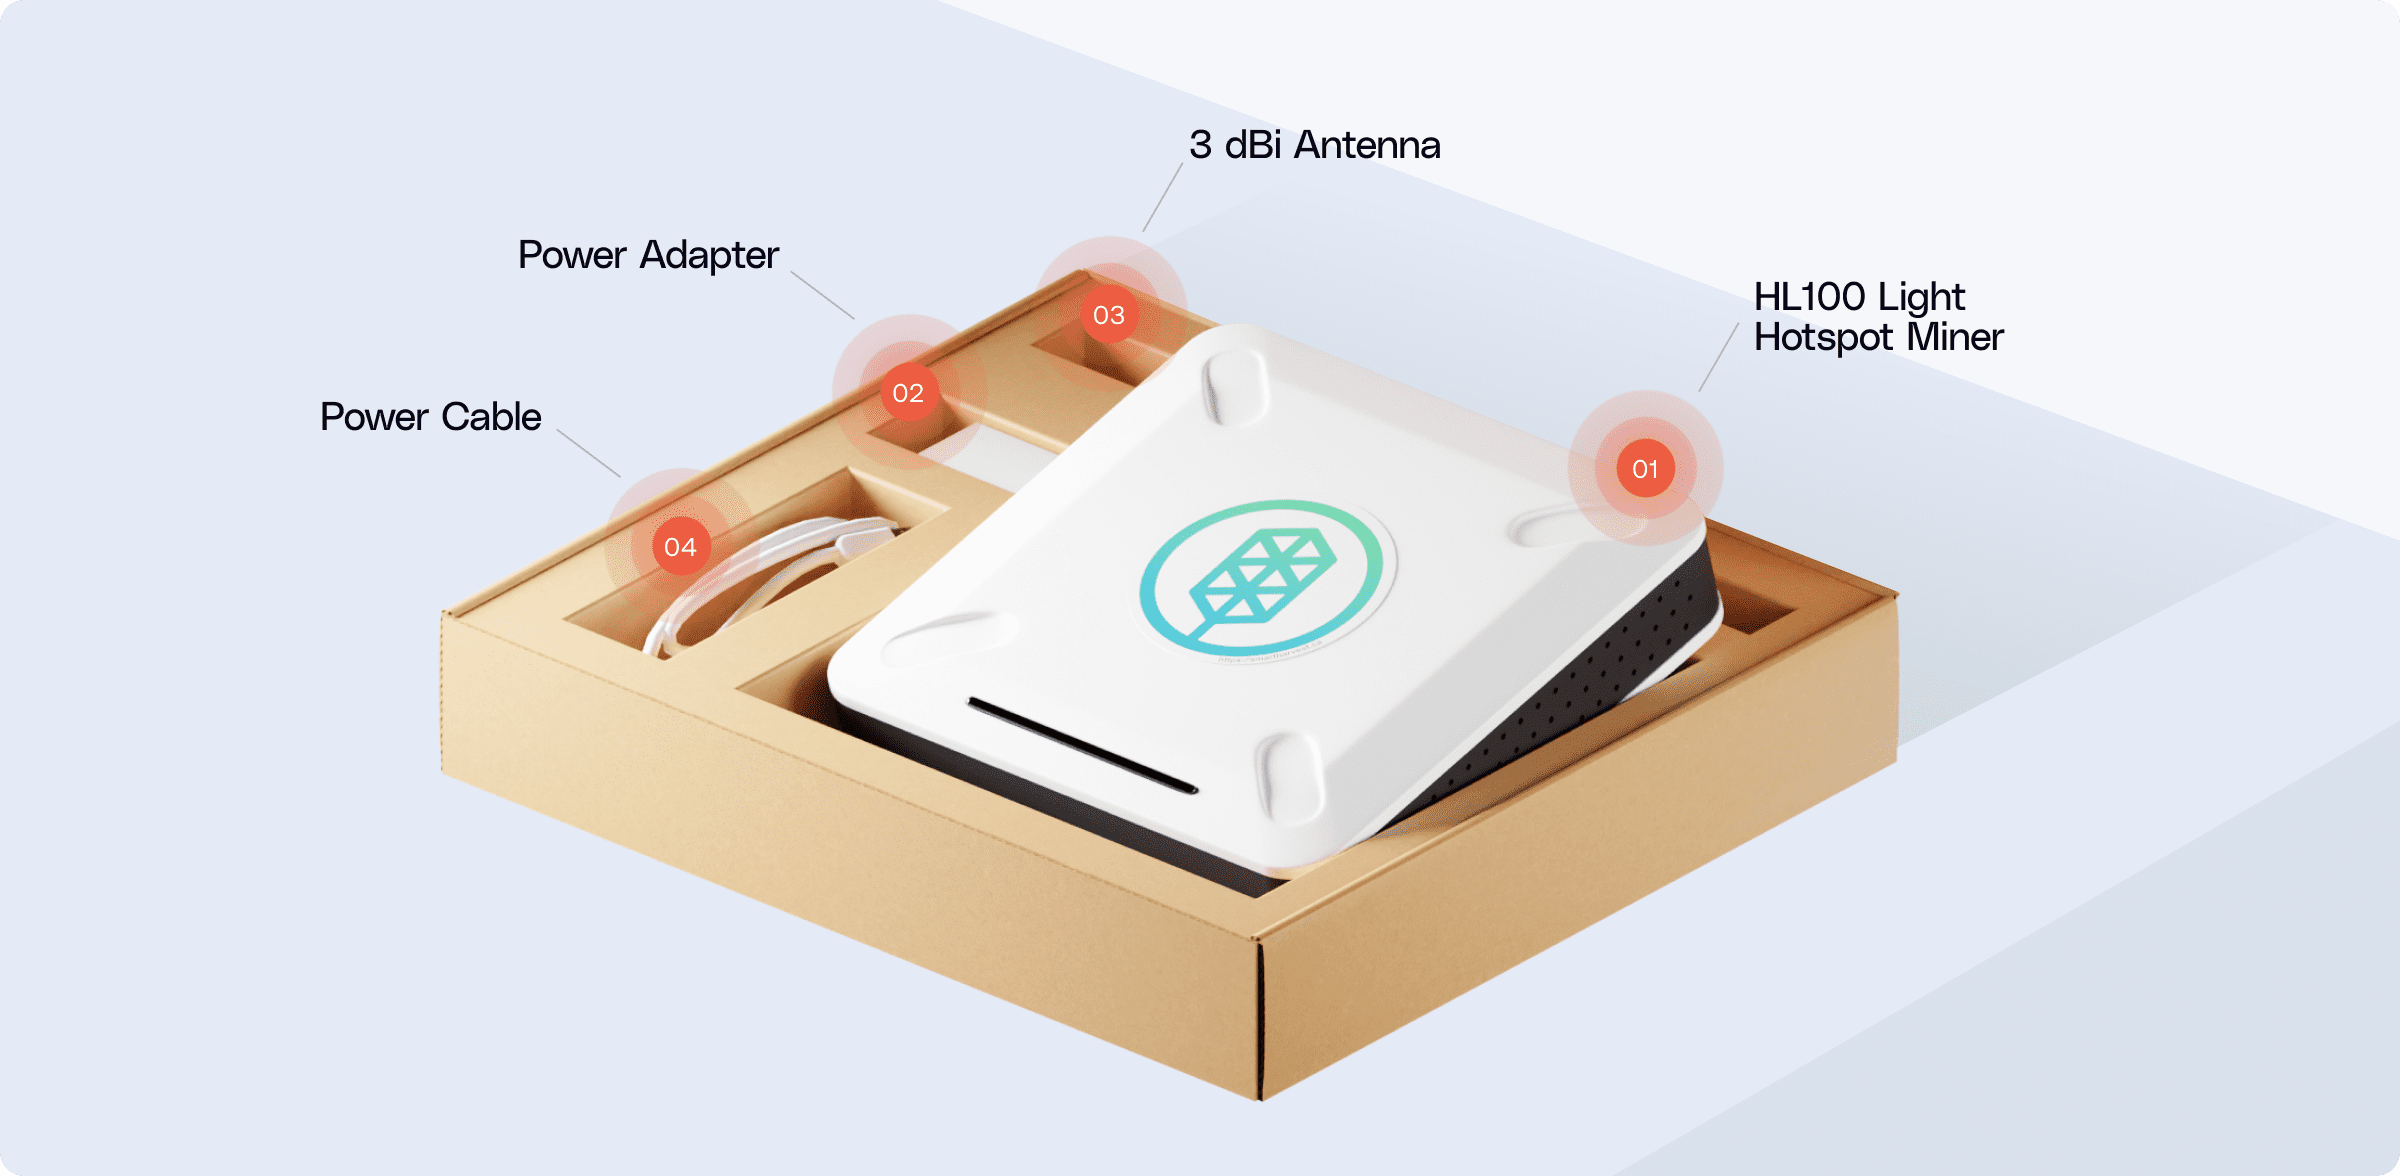
Additional items you’ll need (not included):
- An Ethernet cable for connection (an ethernet cable is required to connect the HL100 to your router).
- A smartphone to help with onboarding your miner after equipment setup
Step 2: Familiarize Yourself with the HL100
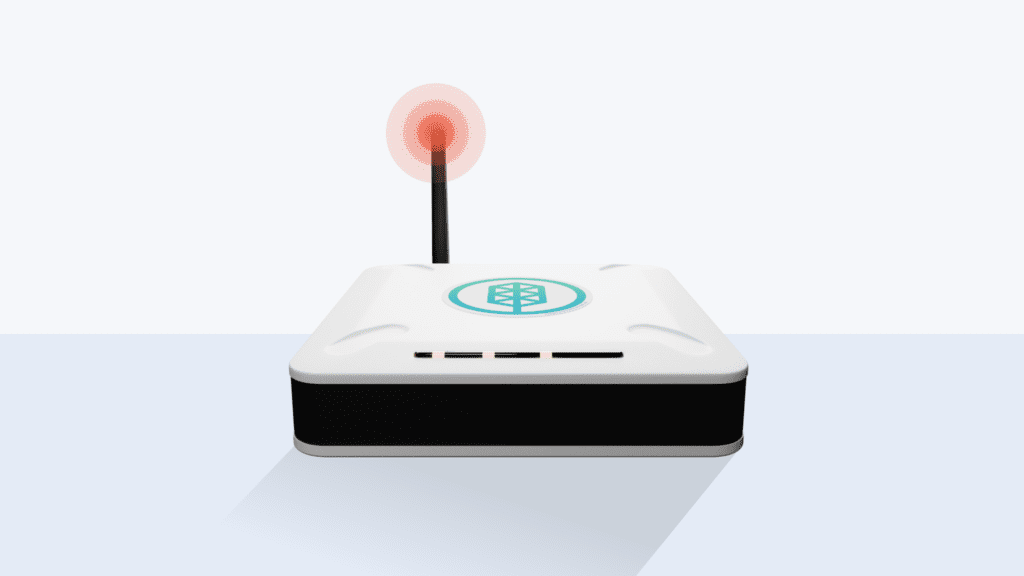
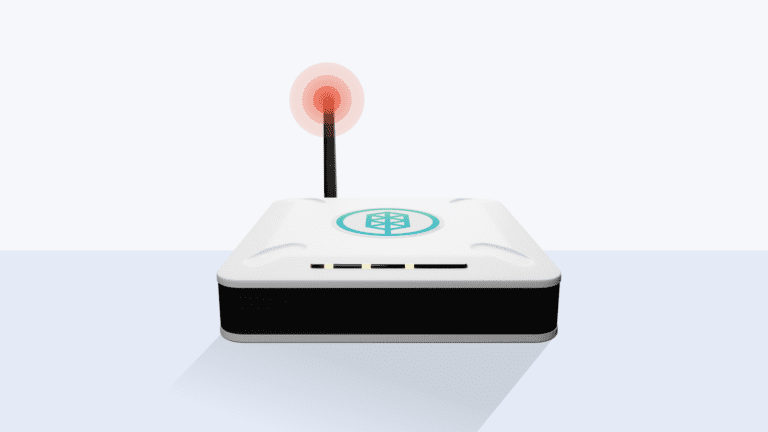
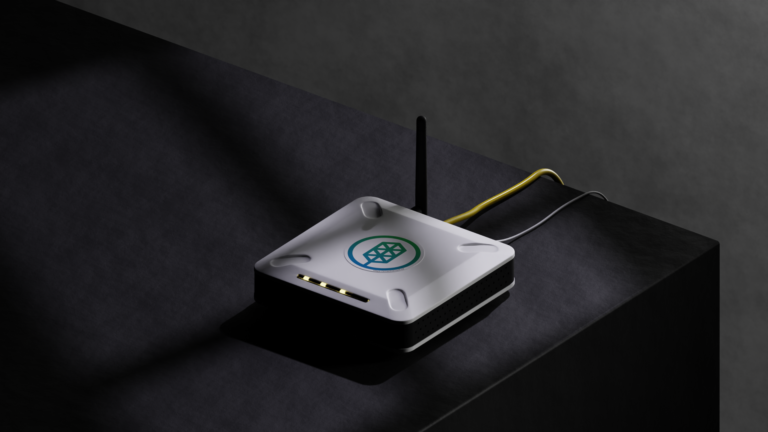
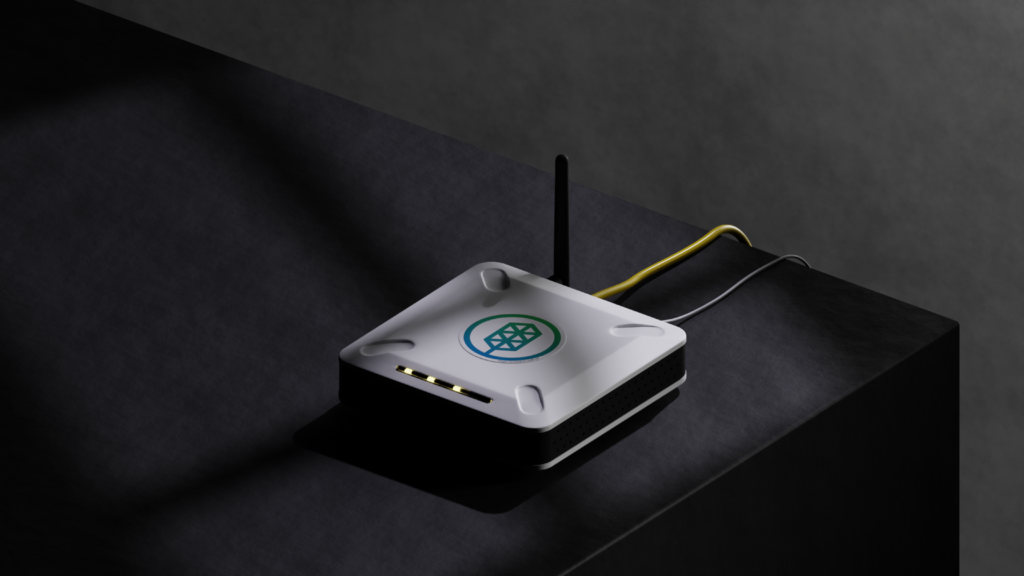
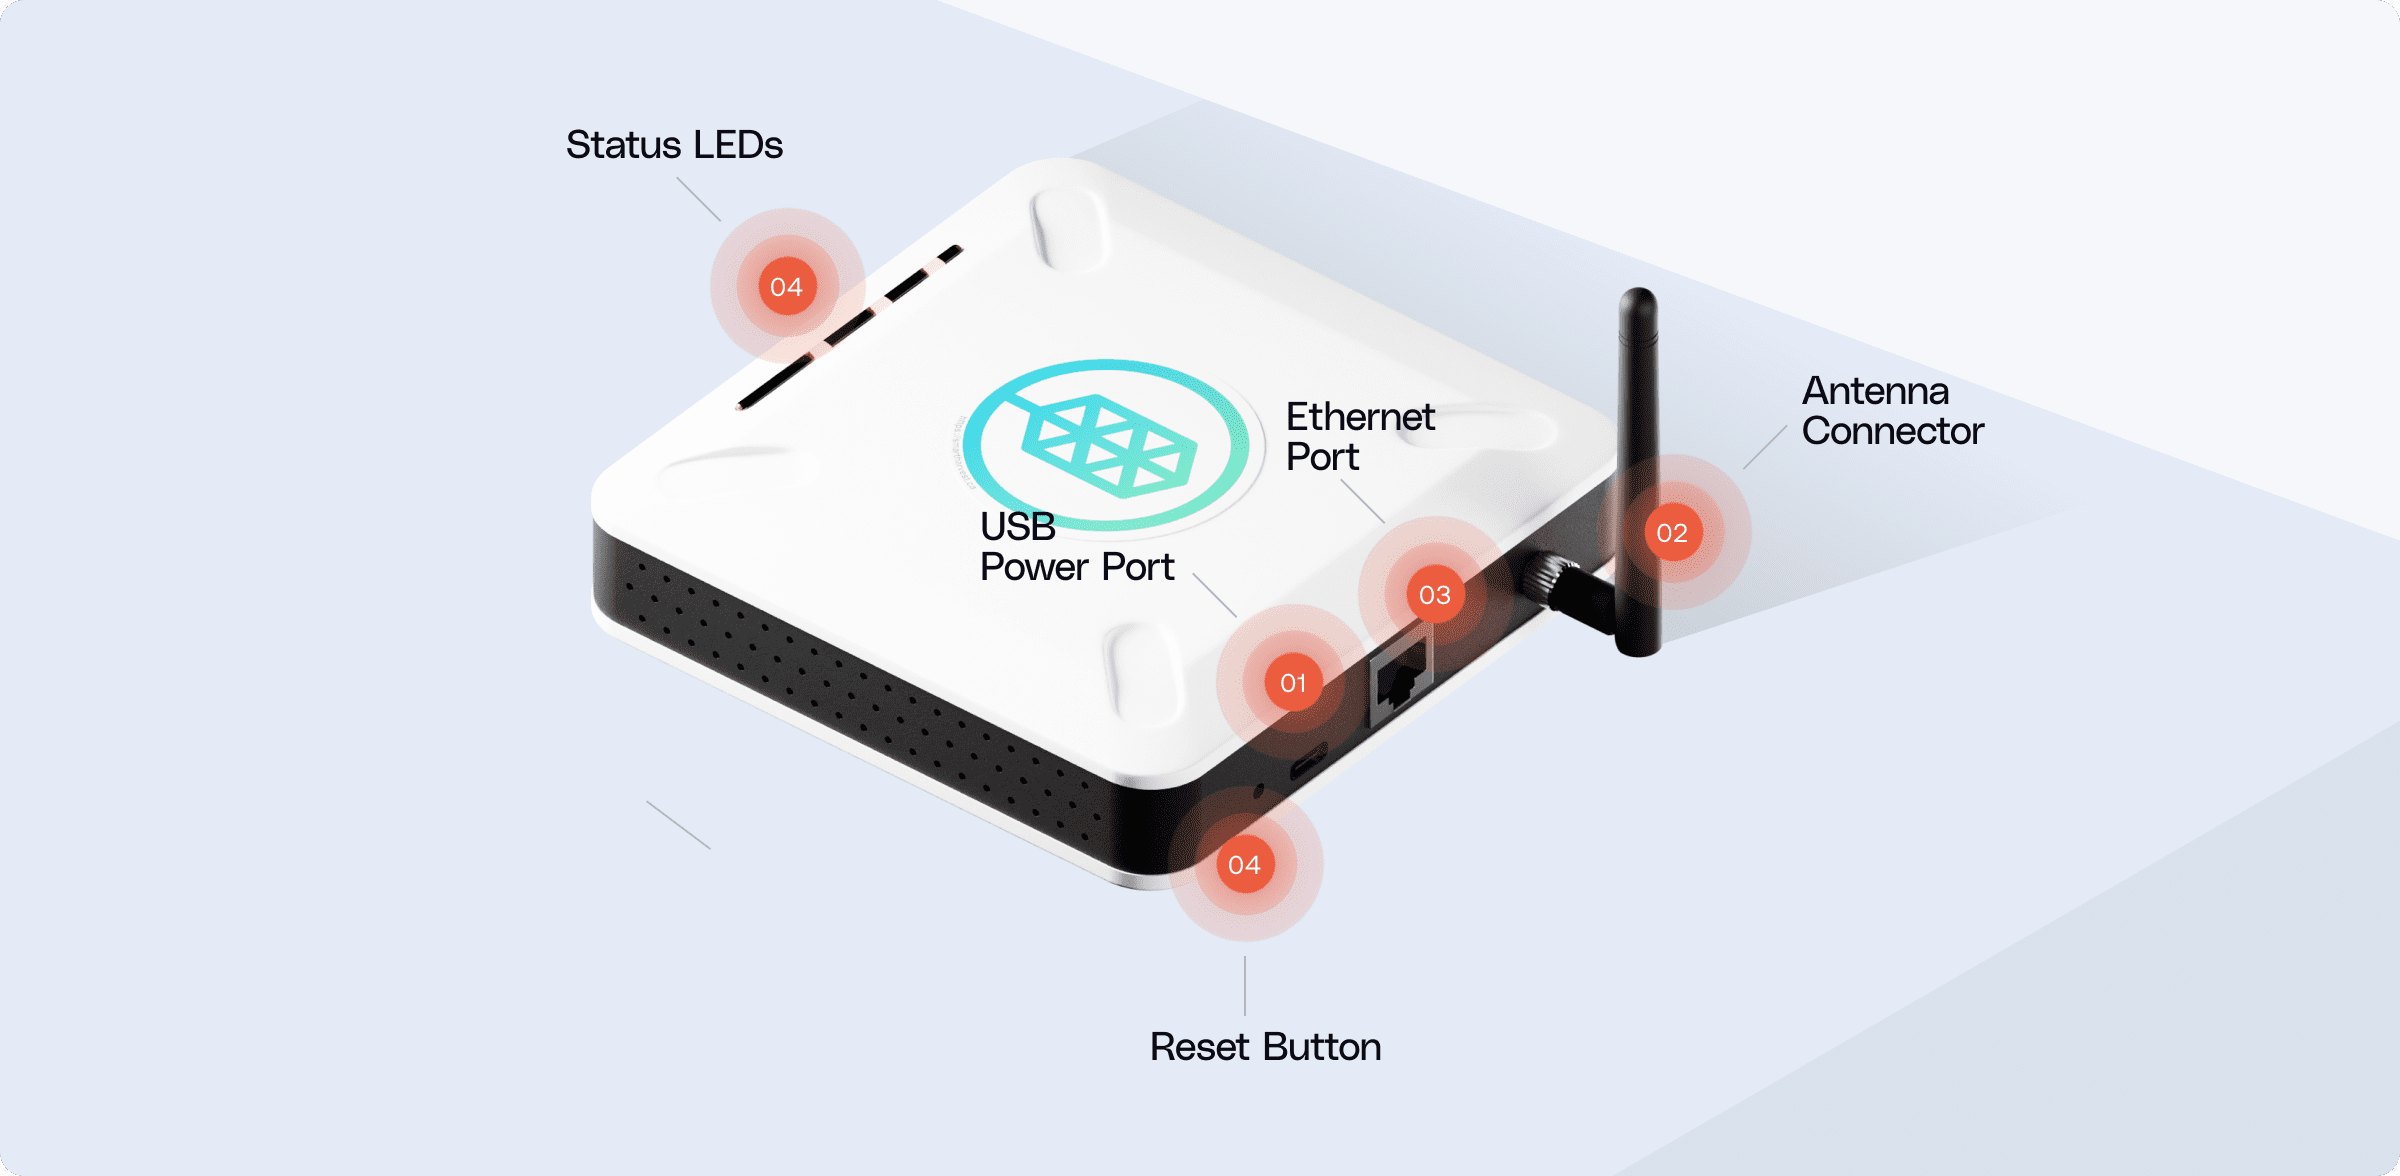
Before immediately setting up, let’s get acquainted with your miner. Here are its main features:
- USB Power Port: Where you connect your power.
- Antenna Connector: For the 3 dBi Antenna.
- Ethernet Port: For connecting to your network.
- Reset Button: In case you need to restart or restore factory settings.
- Status LEDs: To indicate the device’s operational status.
Step 3: Connect Your Hotspot
Before immediately setting up, let’s get acquainted with your miner. Here are its main features:
- Attach the Antenna: Screw the 3 dBi Antenna to the antenna connector on the HL100. Make sure not to over tighten!
- Ethernet Setup: Use your own ethernet cable to connect the HL100 to your router. Ensure both ends are securely attached.
Troubleshooting tip: If there’s no connection, ensure your ethernet cable is undamaged and try using a different router port.
Pro tip: For the most efficient mining and connectivity:
Do:
- Place your device as close to a window as possible.
- Raise the device from the floor if you can. Utilizing a table or windowsill is ideal.
- Keep your hotspot away from metal meshes
Don’t:
- Hide your device! Make sure your hotspot can have plenty of sky view and space and is at least 300 meters from other hotspots.
- Conceal it in a closet or hide behind furniture.
- Position it near mesh window screens, especially metal ones.
Note: Ensure your Light Hotspot Miner is positioned at least 20cm (about 8″) away from other transmitters and people.
- Power Up: Connect the provided power cable to both the HL100 and the power adapter, then plug the adapter into a wall outlet.

Step 4: Onboard Your Light Hotspot Miner
To onboard your device, you’ll need to use your mobile phone. This ensures a seamless connection to the Helium Network:
Grab your smartphone and visit https://onboarding.smartharvest.ca. Follow the on-screen prompts to complete the process.
OR
Scan the QR code provided below using your phone’s camera or a QR scanning app.
- Use Safari for onboarding
- Make sure Location Services are enabled for Safari
- Do not use Private Browsing for onboarding
- Disable iCloud Private Relay before onboarding
- Set Chrome as the default browser before onboarding.

Remember: This process is mobile-only. Desktop or laptop browsers will not support the onboarding process.
Wrapping Up
Congratulations! Your HL100 is now ready to mine. Now that you have your hardware ready, it’s time to take the next steps in your Helium mining journey. View our next recommended guide: Setting Up Your Helium Wallet to Start Earning HNT!
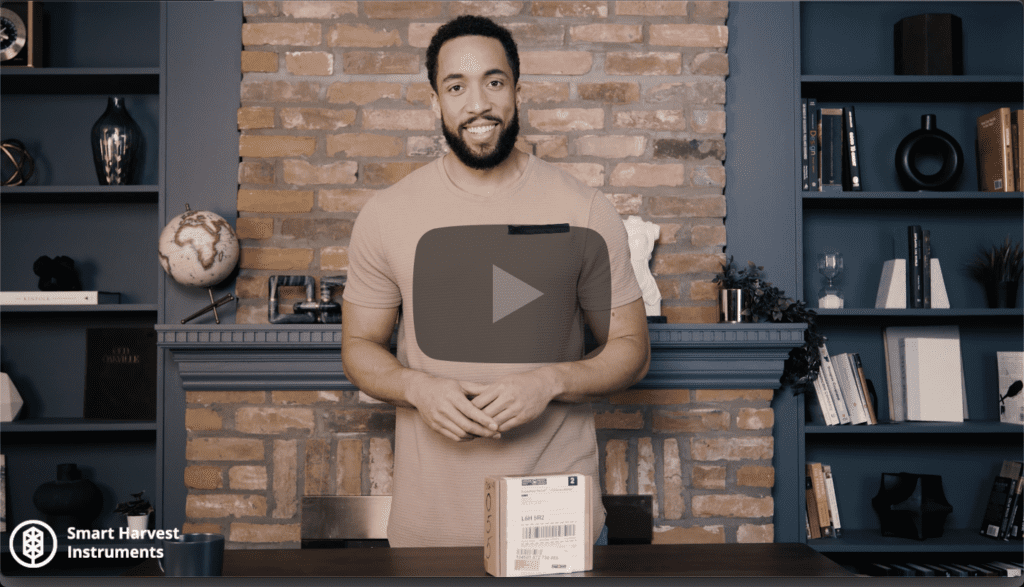
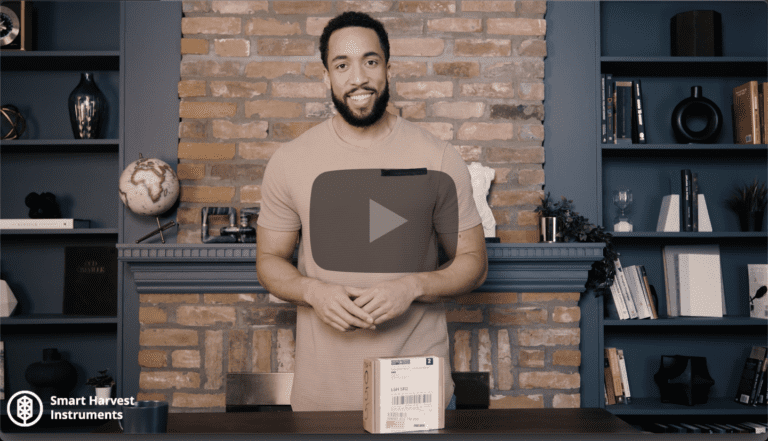
Are you a visual learner? Check out our unboxing and setup video for a full demonstration!
Benefits of the HL100
Proudly Canadian:
Designed by Canadians, for the world.
Energy Efficient:
The HL100 consumes less power than an alarm clock.
Quick Setup Time:
From box to earning HNT in under 5 minutes. No syncing chunks of blockchain is necessary.It’s that easy and quick to set up.
Super Efficient HNT Mining:
Made to maximize your profits.
Set and Forget:
The HL100 is maintenance-free and comes with an auto-update function. So, kick back and passively earn income.
Ditch the SD:
We use internal flash storage, less prone to data corruption for better mining reliability.
Included Long-Range Antenna:
We’ve added a long-range antenna in the box for better mining. Most others sell it separately, but with us, you have everything you need to start immediately.
FAQs about the HL100
Yes, there’s a one-year warranty. More information on your warranty can be found in the manual.
One of the main benefits of the HL100 is that there is zero maintenance involved. The HL100 auto updates its software. You don’t have to keep checking.
No. After you set it up, only you can use it. Helium mining uses strong encryption and your HNT wallet is also protected with a special 12-word phrase.
Keep it online always and make sure it has a stable internet connection. Choose the best antenna based on where you are and how many other hotspots are nearby. Remember, too many hotspots close together might reduce how much you earn.
When Helium did their big network upgrade in 2023, a new reward structure was introduced. Now, each network running on Helium is rewarded with protocol tokens that are specific to that network. For the IoT segment of the network, this means earning Helium IOT protocol tokens instead of HNT.
To onboard the HL100 you’ll need to use our Onboarding Web App at https://onboarding.smartharvest.ca/ alongside the Helium Wallet App. Check out our quickstart video for more details: https://youtu.be/Nd-bBgaEhuk
The HL100 cannot be onboarded with bluetooth and just the Helium Wallet App. You’ll need to use our Onboarding Web App at https://onboarding.smartharvest.ca/ alongside the Helium Wallet App.
As part of the Onboarding process you should expect to see a prompt similar to this after you pressContinue on the Set Hotspot Location page (example here).
If this doesn’t show up, you may need to enable Location Services for your smartphone’s web browser.
On iPhone and using Safari:
Please double check your location permissions by doing the following:
- Settings App -> Privacy & Security -> Location Services -> Safari Websites
- Change the “Allow location access” to “While Using the App”
- Enable “Precise Location”
Example here.
If you saw a “Hotspot Onboarded!” message in the Smart Harvest Onboarding Web App, then your HL100 has been successfully onboarded.
The message will look something like this.
Check your network configuration on your modem or router. If there are any settings like “don’t allow communication between devices on the network”, disable that setting and try onboarding again.
If you’re using the Moken or Hotspotty Explorers to check on the hotspot, it might take a day or two for them to show the hotspot online. As far as we know, they don’t update in 100% real-time.
If it’s still showing as offline in 2 or 3 days, please get in touch with us.
What each LED means from left to right when viewed from the front:
- Power (on/off)
- LoRa Radio Enabled
- Ethernet Traffic
- Onboarding Enabled
No, the HL100 does not require any port forwarding to work properly.
The HL100 is a Helium IoT Network Light Hotspot. The previous generation Full Hotspots used to required port forwarding.

